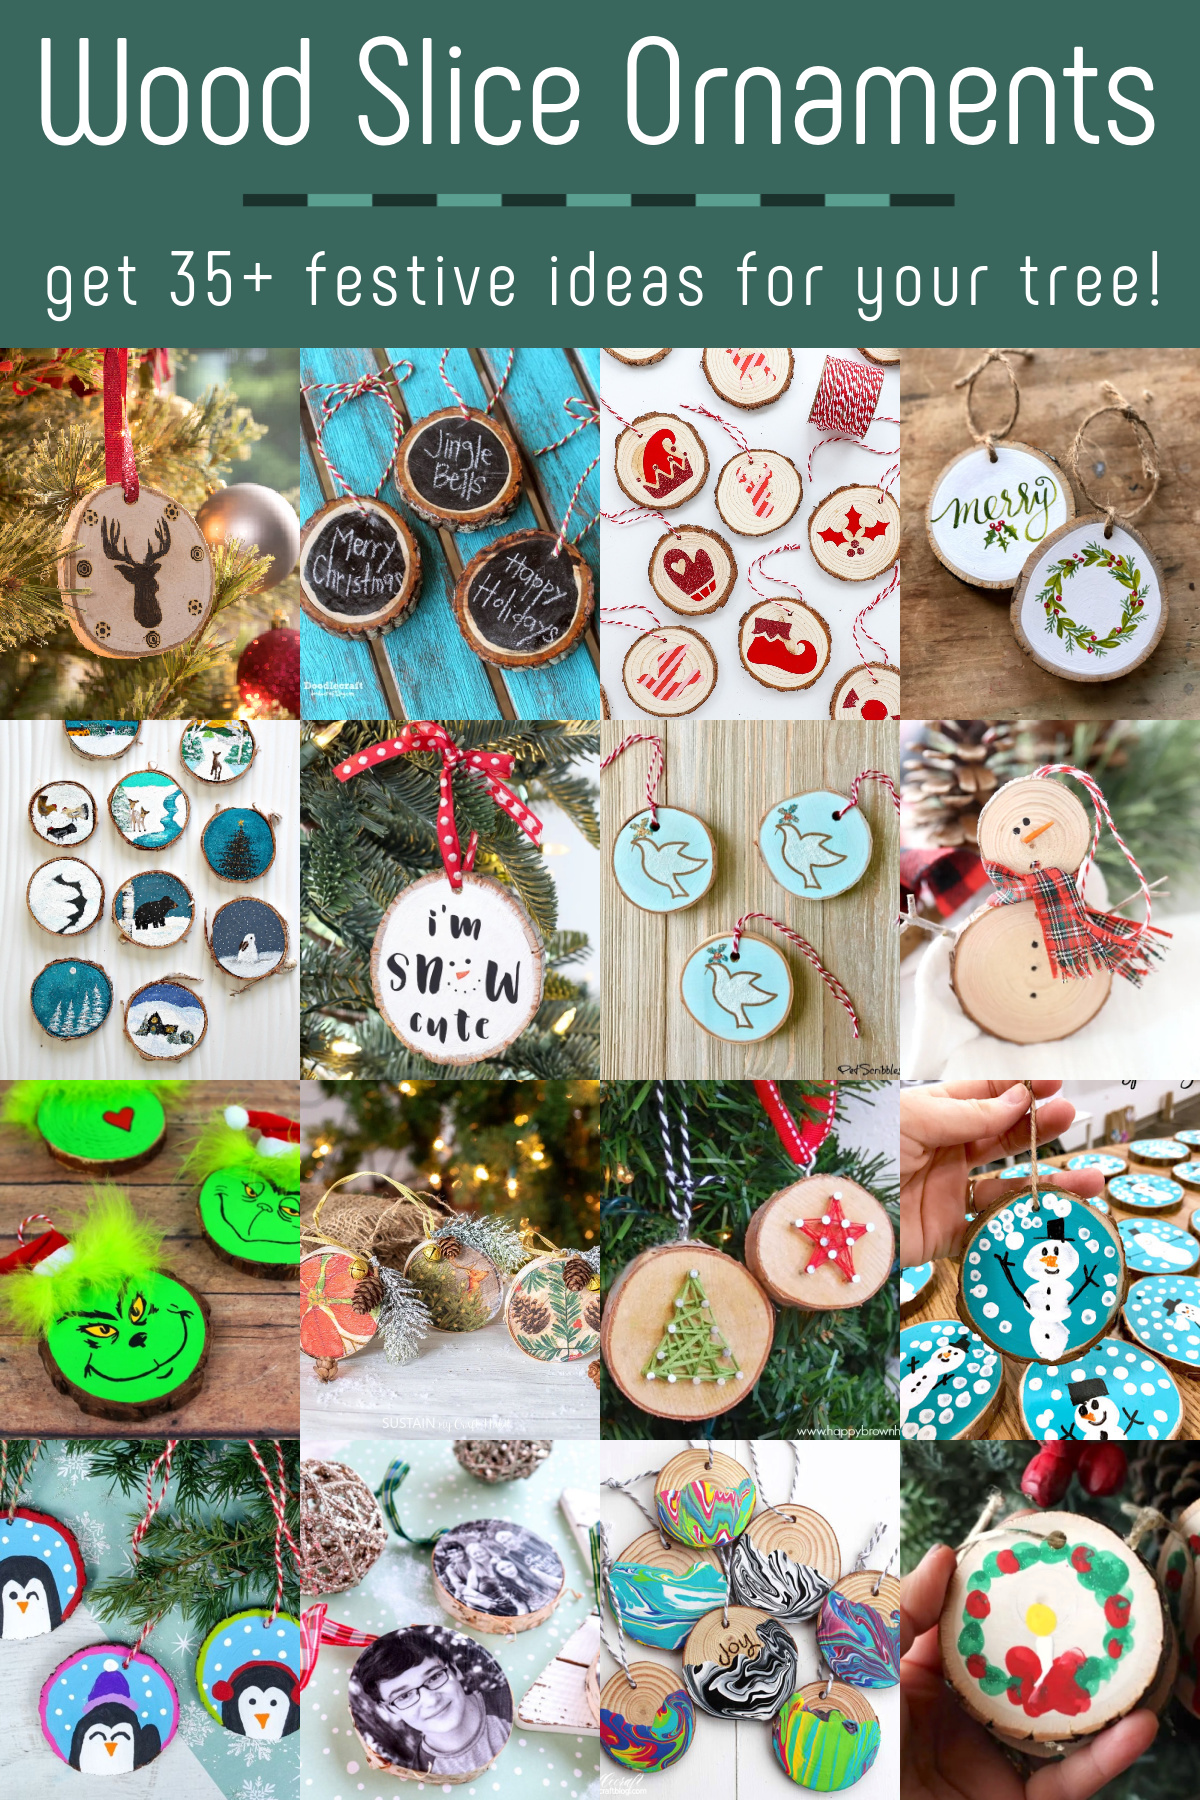
Are you looking for a fun and creative way to add a personal touch to your holiday decorations? Painting wood slice ornaments with Nordic patterns is a simple and rewarding craft that anyone can try.
These charming designs bring a cozy, festive vibe to your home and make perfect gifts for friends and family. You’ll discover easy steps to create beautiful, hand-painted ornaments that stand out. Get ready to transform plain wood slices into stunning pieces of art that capture the spirit of the season!
Materials Needed
Gathering the right materials makes painting Nordic patterns on wood slice ornaments easier. Prepare all items before starting your project. This helps keep your work neat and enjoyable. Each item plays a specific role in creating beautiful designs.
Wood Slices
Choose smooth wood slices for best results. Birch or pine slices work well. Pick slices about 2 to 3 inches wide. Make sure they are dry and clean. Sand rough edges to avoid splinters.
Paint Types
Acrylic paints are perfect for wood surfaces. They dry fast and show bright colors. Use white, red, black, and blue for Nordic styles. Matte finish paint gives a traditional look. Avoid oil-based paints as they take longer to dry.
Brushes And Tools
Use small round brushes for details. Flat brushes help cover larger areas. Fine-tipped brushes create sharp lines. A pencil helps sketch designs before painting. Have a palette or plate for mixing colors.
Additional Supplies
Seal your work with clear varnish to protect paint. Paper towels help clean brushes between colors. Use water cups to rinse brushes. Masking tape can help create straight lines. A small dish holds paint for easy access.
Preparing Wood Slices
Preparing wood slices is the first step to beautiful Nordic pattern ornaments. Clean, smooth wood helps paint stick better. It also makes your designs look sharp and neat. Take time to prepare each slice well for best results.
Sanding Techniques
Use fine-grit sandpaper for a smooth surface. Sand in small, circular motions. Remove rough spots and splinters carefully. Avoid sanding too deep to keep the wood slice strong. Sand both sides if you want to paint on either side.
Cleaning The Surface
After sanding, wipe the wood with a dry cloth. Remove all dust and dirt. Use a damp cloth if needed, but let the wood dry fully. Clean wood helps paint stick and prevents blotches. Make sure no residue remains on the surface.
Sealing Options
Seal the wood to protect your paint and wood. Use a clear wood sealer or primer. Apply a thin, even coat and let it dry. Sealing stops paint from soaking in and fading. Choose a sealer that matches your paint type for best results.
Choosing Nordic Patterns
Choosing Nordic patterns for your wood slice ornaments sets the tone for your project. These patterns carry a rich cultural heritage and bring a cozy, festive feel. Selecting the right design can make your ornament stand out. Focus on motifs, colors, and sources to find the perfect pattern.
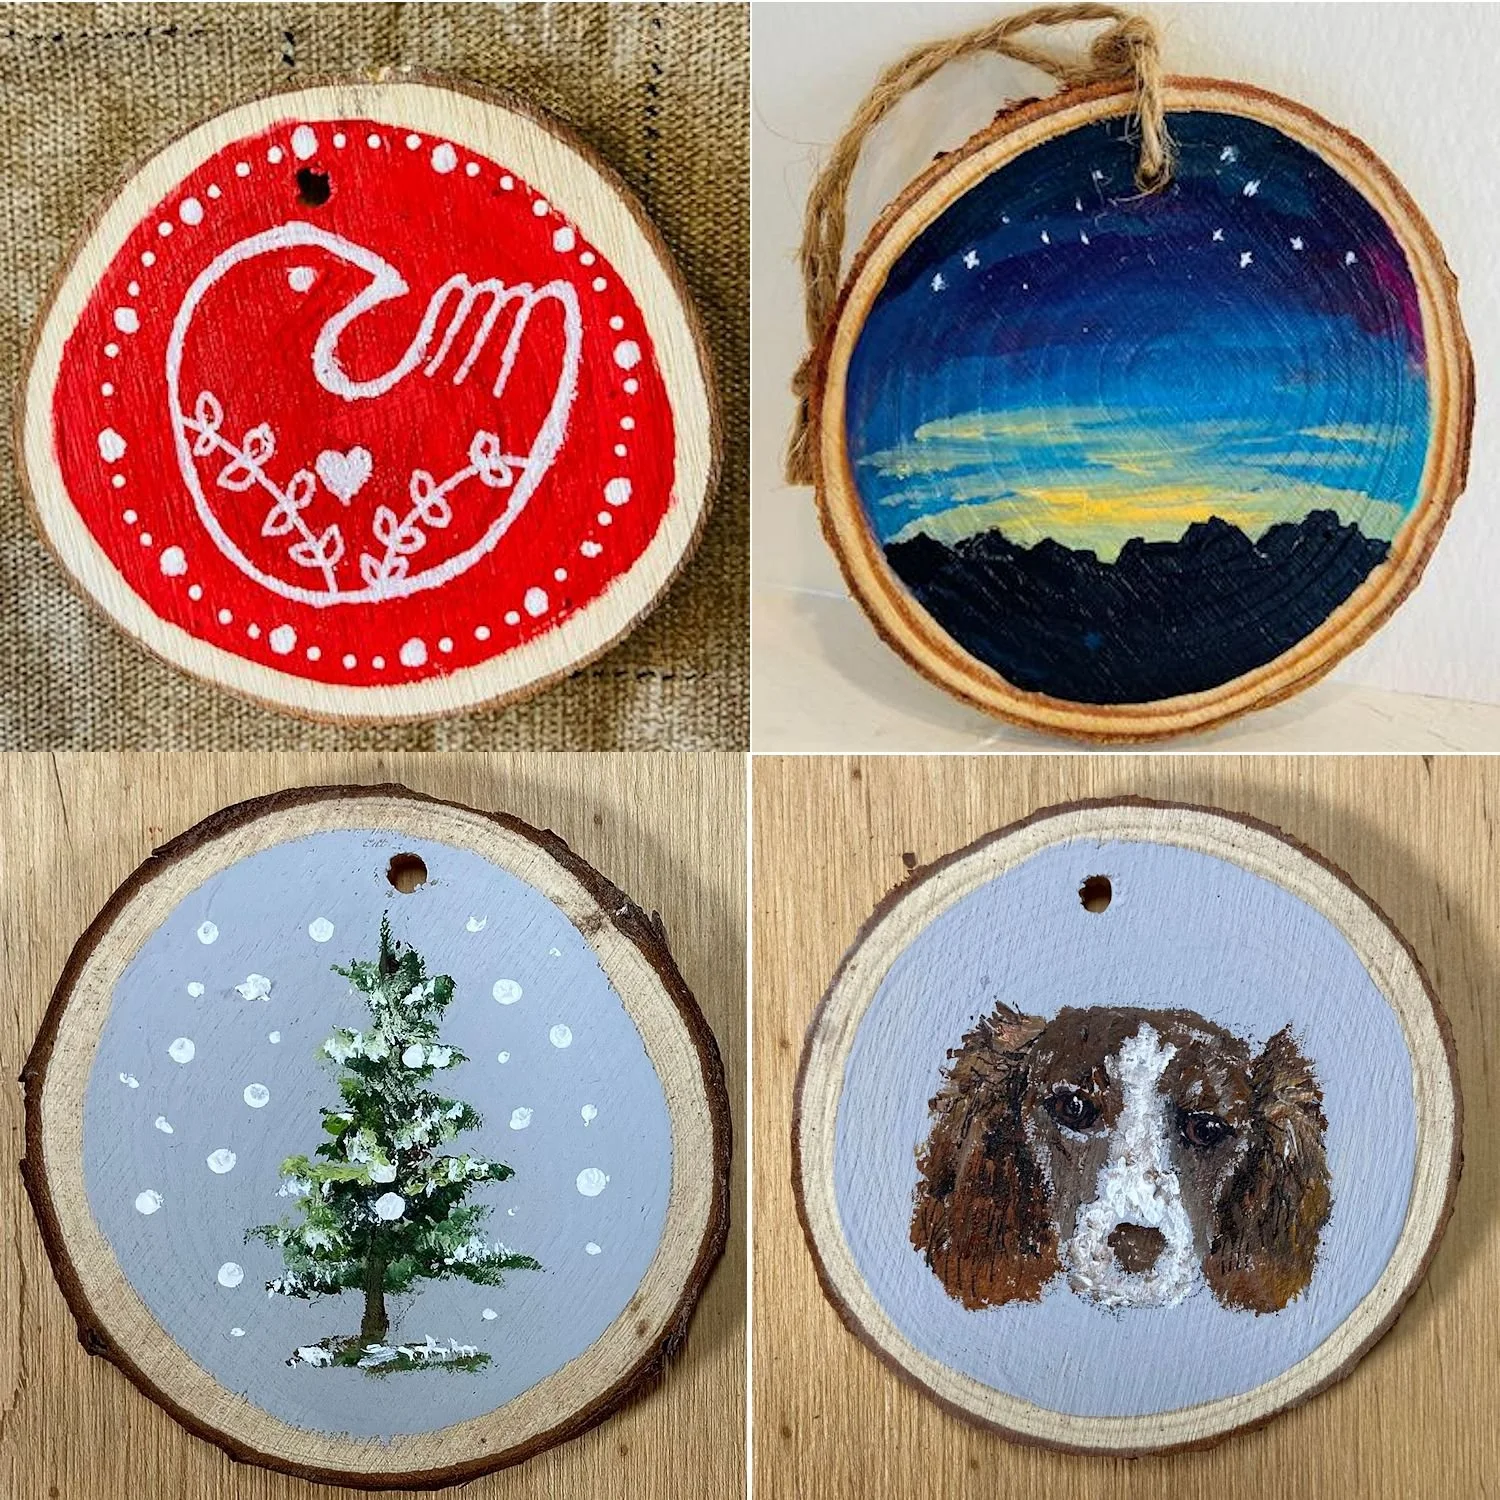
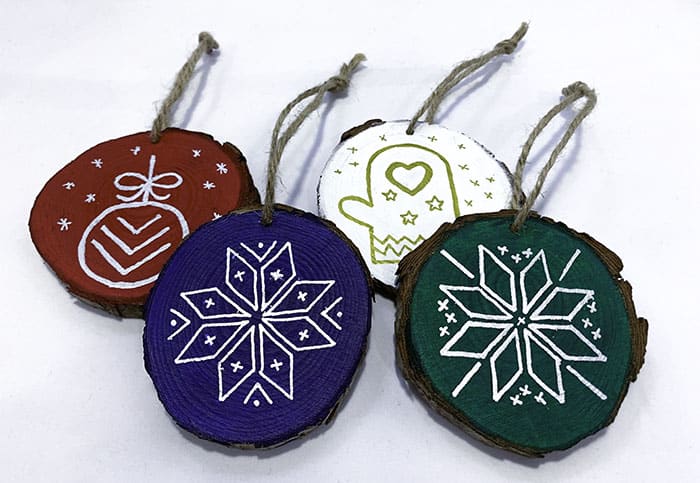
Popular Motifs
Nordic patterns often include shapes inspired by nature and folklore. Common motifs are snowflakes, stars, hearts, and animals like reindeer. Geometric shapes such as diamonds and zigzags also appear frequently. These symbols reflect Nordic traditions and add charm to your ornaments.
Color Schemes
Traditional Nordic colors are simple and natural. Red, white, black, and blue are popular choices. These colors create a clean and festive look. Use contrasting colors to make your design pop. Soft pastels can work too, but bold shades hold the Nordic spirit best.
Pattern Sources
Find Nordic patterns in craft books, online galleries, and cultural websites. Museums and folk art collections offer authentic designs. Pinterest and Instagram provide many creative ideas. Choose patterns that match your skill level and style for the best results.
Painting Techniques
Painting wood slice ornaments with Nordic patterns is a fun and creative process. The right painting techniques bring out the beauty of these simple yet elegant designs. This section covers base coating, detailing patterns, and layering with drying tips. Follow these steps to make your ornaments look stunning and neat.
Base Coating
Start with a smooth base coat to prepare the wood slice. Use acrylic paint for good coverage and fast drying. Choose a light color like white or pale grey for the classic Nordic look. Apply the paint evenly with a flat brush. Let the base coat dry completely before moving on. This step helps the details stand out and prevents the paint from soaking into the wood.
Detailing Patterns
Use fine brushes or paint pens for Nordic patterns. Simple shapes like lines, dots, and triangles work best. Draw slowly and carefully to keep the design neat. Nordic patterns often have symmetry, so keep your strokes balanced. Use contrasting colors such as black, red, or dark blue for visibility. Take breaks if needed to avoid mistakes.
Layering And Drying
Build your design in thin layers for depth and clarity. Allow each layer to dry before adding the next. This avoids smudging and mixing of colors. Patience is key for clean results. Use a hairdryer on a cool setting to speed drying if needed. Finish with a clear sealant for protection and shine. This keeps your ornament looking fresh for years.
Adding Finishing Touches
Adding finishing touches to your wood slice ornaments brings your Nordic patterns to life. This step protects your artwork and makes the ornaments ready for display. It also allows you to add personal details that make each piece unique.
Applying Sealant
Sealant protects your paint from fading and damage. Use a clear spray or brush-on sealant. Apply a thin, even layer over the entire surface. Let it dry completely before handling. This step helps your ornaments last for many years.
Attaching Hanging Elements
Choose the right hanging element for your ornament. Twine, ribbon, or thin wire works well. Punch a small hole near the top of the wood slice. Thread your chosen material through the hole. Tie a secure knot to hold the ornament safely.
Personalizing Ornaments
Make each ornament special by adding initials or dates. Use a fine brush or paint pen for small details. You can also add small designs like dots or stars. Personal touches make your ornaments perfect gifts or keepsakes.
Tips For Best Results
Painting wood slice ornaments with Nordic patterns can be fun and rewarding. To get the best results, follow some simple tips. These tips help your designs look neat and last longer.
Good preparation and careful painting make a big difference. Small details matter. Take time and enjoy the process.
Common Mistakes To Avoid
Skipping sanding can make paint peel quickly. Always sand the wood smooth before painting. Using thick paint can hide delicate patterns. Thin layers work best. Rushing to dry paint can cause smudges. Wait for each layer to dry fully. Forgetting to seal the design will reduce its life. Use a clear sealant to protect your work.
Time-saving Hacks
Use stencils to create consistent Nordic patterns fast. Paint multiple slices at once for efficiency. A small brush helps with detail but use a larger one for the base. Keep a damp cloth nearby to clean mistakes quickly. Dry paint with a fan or hairdryer to speed up the process.
Maintaining Painted Ornaments
Store ornaments in a dry place to avoid damage. Avoid direct sunlight to keep colors bright. Clean gently with a soft, dry cloth. Do not use water or harsh chemicals. Check for chips or cracks and fix them early. Proper care keeps your ornaments beautiful for years.
Frequently Asked Questions
What Materials Are Needed To Paint Wood Slice Ornaments?
You need wood slices, acrylic paints, fine brushes, pencil, and sealant. These tools help create detailed Nordic patterns and protect your artwork.
How Do I Prepare Wood Slices For Painting?
Sand the wood surface smoothly and wipe off dust. This ensures paint adheres well and your design looks clean.
What Are Common Nordic Patterns For Wood Ornaments?
Popular patterns include geometric shapes, snowflakes, stars, and stylized trees. These motifs reflect traditional Nordic design aesthetics.
How Can I Seal Painted Wood Slice Ornaments?
Use a clear acrylic sealant spray or brush-on varnish. Sealing protects paint from chipping and enhances durability.
Conclusion
Painting wood slice ornaments with Nordic patterns brings charm to any space. The steps are simple and fun to follow. Each ornament tells a unique story through its design. Use your creativity and enjoy the process fully. These handmade decorations add a personal touch to holidays.
Try different colors and shapes for variety. Crafting with wood slices connects you to nature and art. Keep practicing, and your skills will improve quickly. Celebrate the joy of creating something beautiful by hand. This project suits all ages and skill levels alike.