Are you ready to create stunning resin pieces that shine with perfect clarity? Achieving crystal clear resin pours can seem tricky, but with the right tips, you’ll avoid common mistakes and bring your projects to life like a pro.
Whether you’re a beginner or looking to improve your craft, these simple strategies will help you get flawless results every time. Keep reading to discover how to make your resin pours look as clear and beautiful as glass.

Preparing Your Workspace
Preparing your workspace is the first step toward achieving crystal clear resin pours. A clean, organized area helps prevent dust, bubbles, and other issues that cloud resin. Setting up the right environment and gathering essential tools makes the pouring process smooth. This section covers how to prepare your workspace to get the best results.
Choosing The Right Environment
The environment plays a crucial role in the quality of your resin pours. Choose a space that limits dust, dirt, and temperature changes. Resin reacts to temperature and humidity, so a stable environment is key.
- Cleanliness: Work in a dust-free area. Dust particles can settle on wet resin and ruin the finish.
- Temperature: Keep the room temperature between 70°F and 75°F (21°C to 24°C). Too cold or hot temperatures affect curing.
- Humidity: Aim for low humidity. High humidity causes cloudiness in resin.
- Ventilation: Use a well-ventilated space but avoid strong drafts that bring dust.
- Lighting: Good lighting helps you see bubbles and imperfections early.
Use a table like the one below to check your workspace conditions before starting:
| Condition | Ideal Range | Why It Matters |
|---|---|---|
| Temperature | 70°F – 75°F (21°C – 24°C) | Ensures proper curing speed |
| Humidity | Below 50% | Prevents cloudiness and bubbles |
| Cleanliness | Dust-free | Protects clear finish |
| Ventilation | Good airflow, no drafts | Removes fumes, keeps dust away |
Essential Tools And Materials
Having the right tools and materials ready helps avoid interruptions during your resin project. Organize everything before mixing resin.
Keep these essentials in your workspace:
- Protective gear: Gloves, mask, and apron keep you safe from resin contact.
- Mixing containers: Use clear, disposable cups for easy measurement and mixing.
- Stir sticks: Wooden or plastic sticks for thorough mixing without introducing bubbles.
- Measuring tools: Digital scales or measuring cups ensure correct resin-to-hardener ratios.
- Heat gun or torch: Removes surface bubbles after pouring.
- Leveling tools: A small level helps keep your project flat to avoid uneven curing.
- Molds or surfaces: Silicone molds or prepared surfaces for resin pouring.
Store your materials in an easy-to-reach spot to keep the workspace tidy and efficient. Below is a checklist to prepare your tools and materials:
✔️ Gloves and mask ✔️ Mixing cups ✔️ Stir sticks ✔️ Digital scale or measuring cups ✔️ Heat gun or torch ✔️ Level tool ✔️ Molds or surfaces Selecting Quality Resin
Choosing the right resin is essential for creating crystal clear pours. The quality of resin affects the finish, clarity, and durability of your project. Low-quality resins often turn yellow or cloudy over time. High-quality resins provide a glass-like shine and remain clear for years. Selecting quality resin ensures your artwork or craft looks professional and lasts longer.
Types Of Resin For Clear Pours
Several types of resin work well for clear pours. Each type has unique properties, curing times, and clarity levels. Knowing the differences helps you pick the best resin for your project.
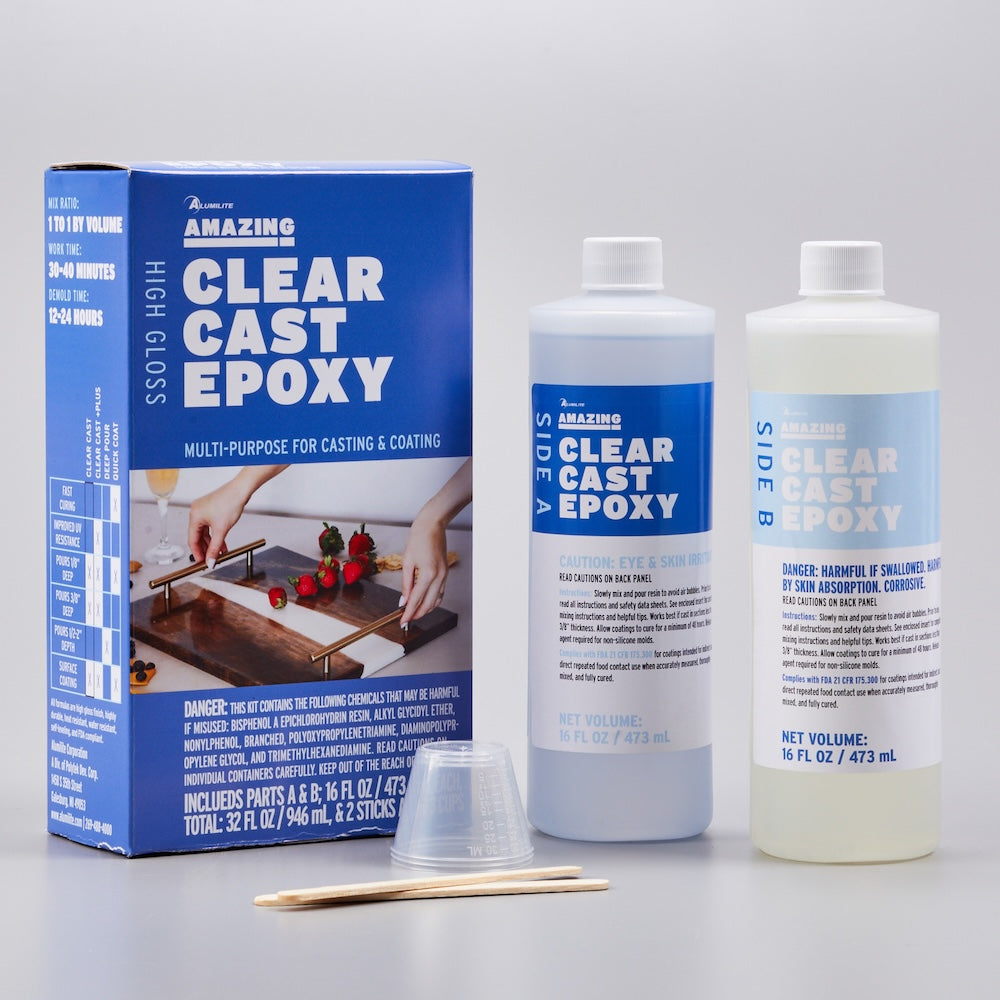
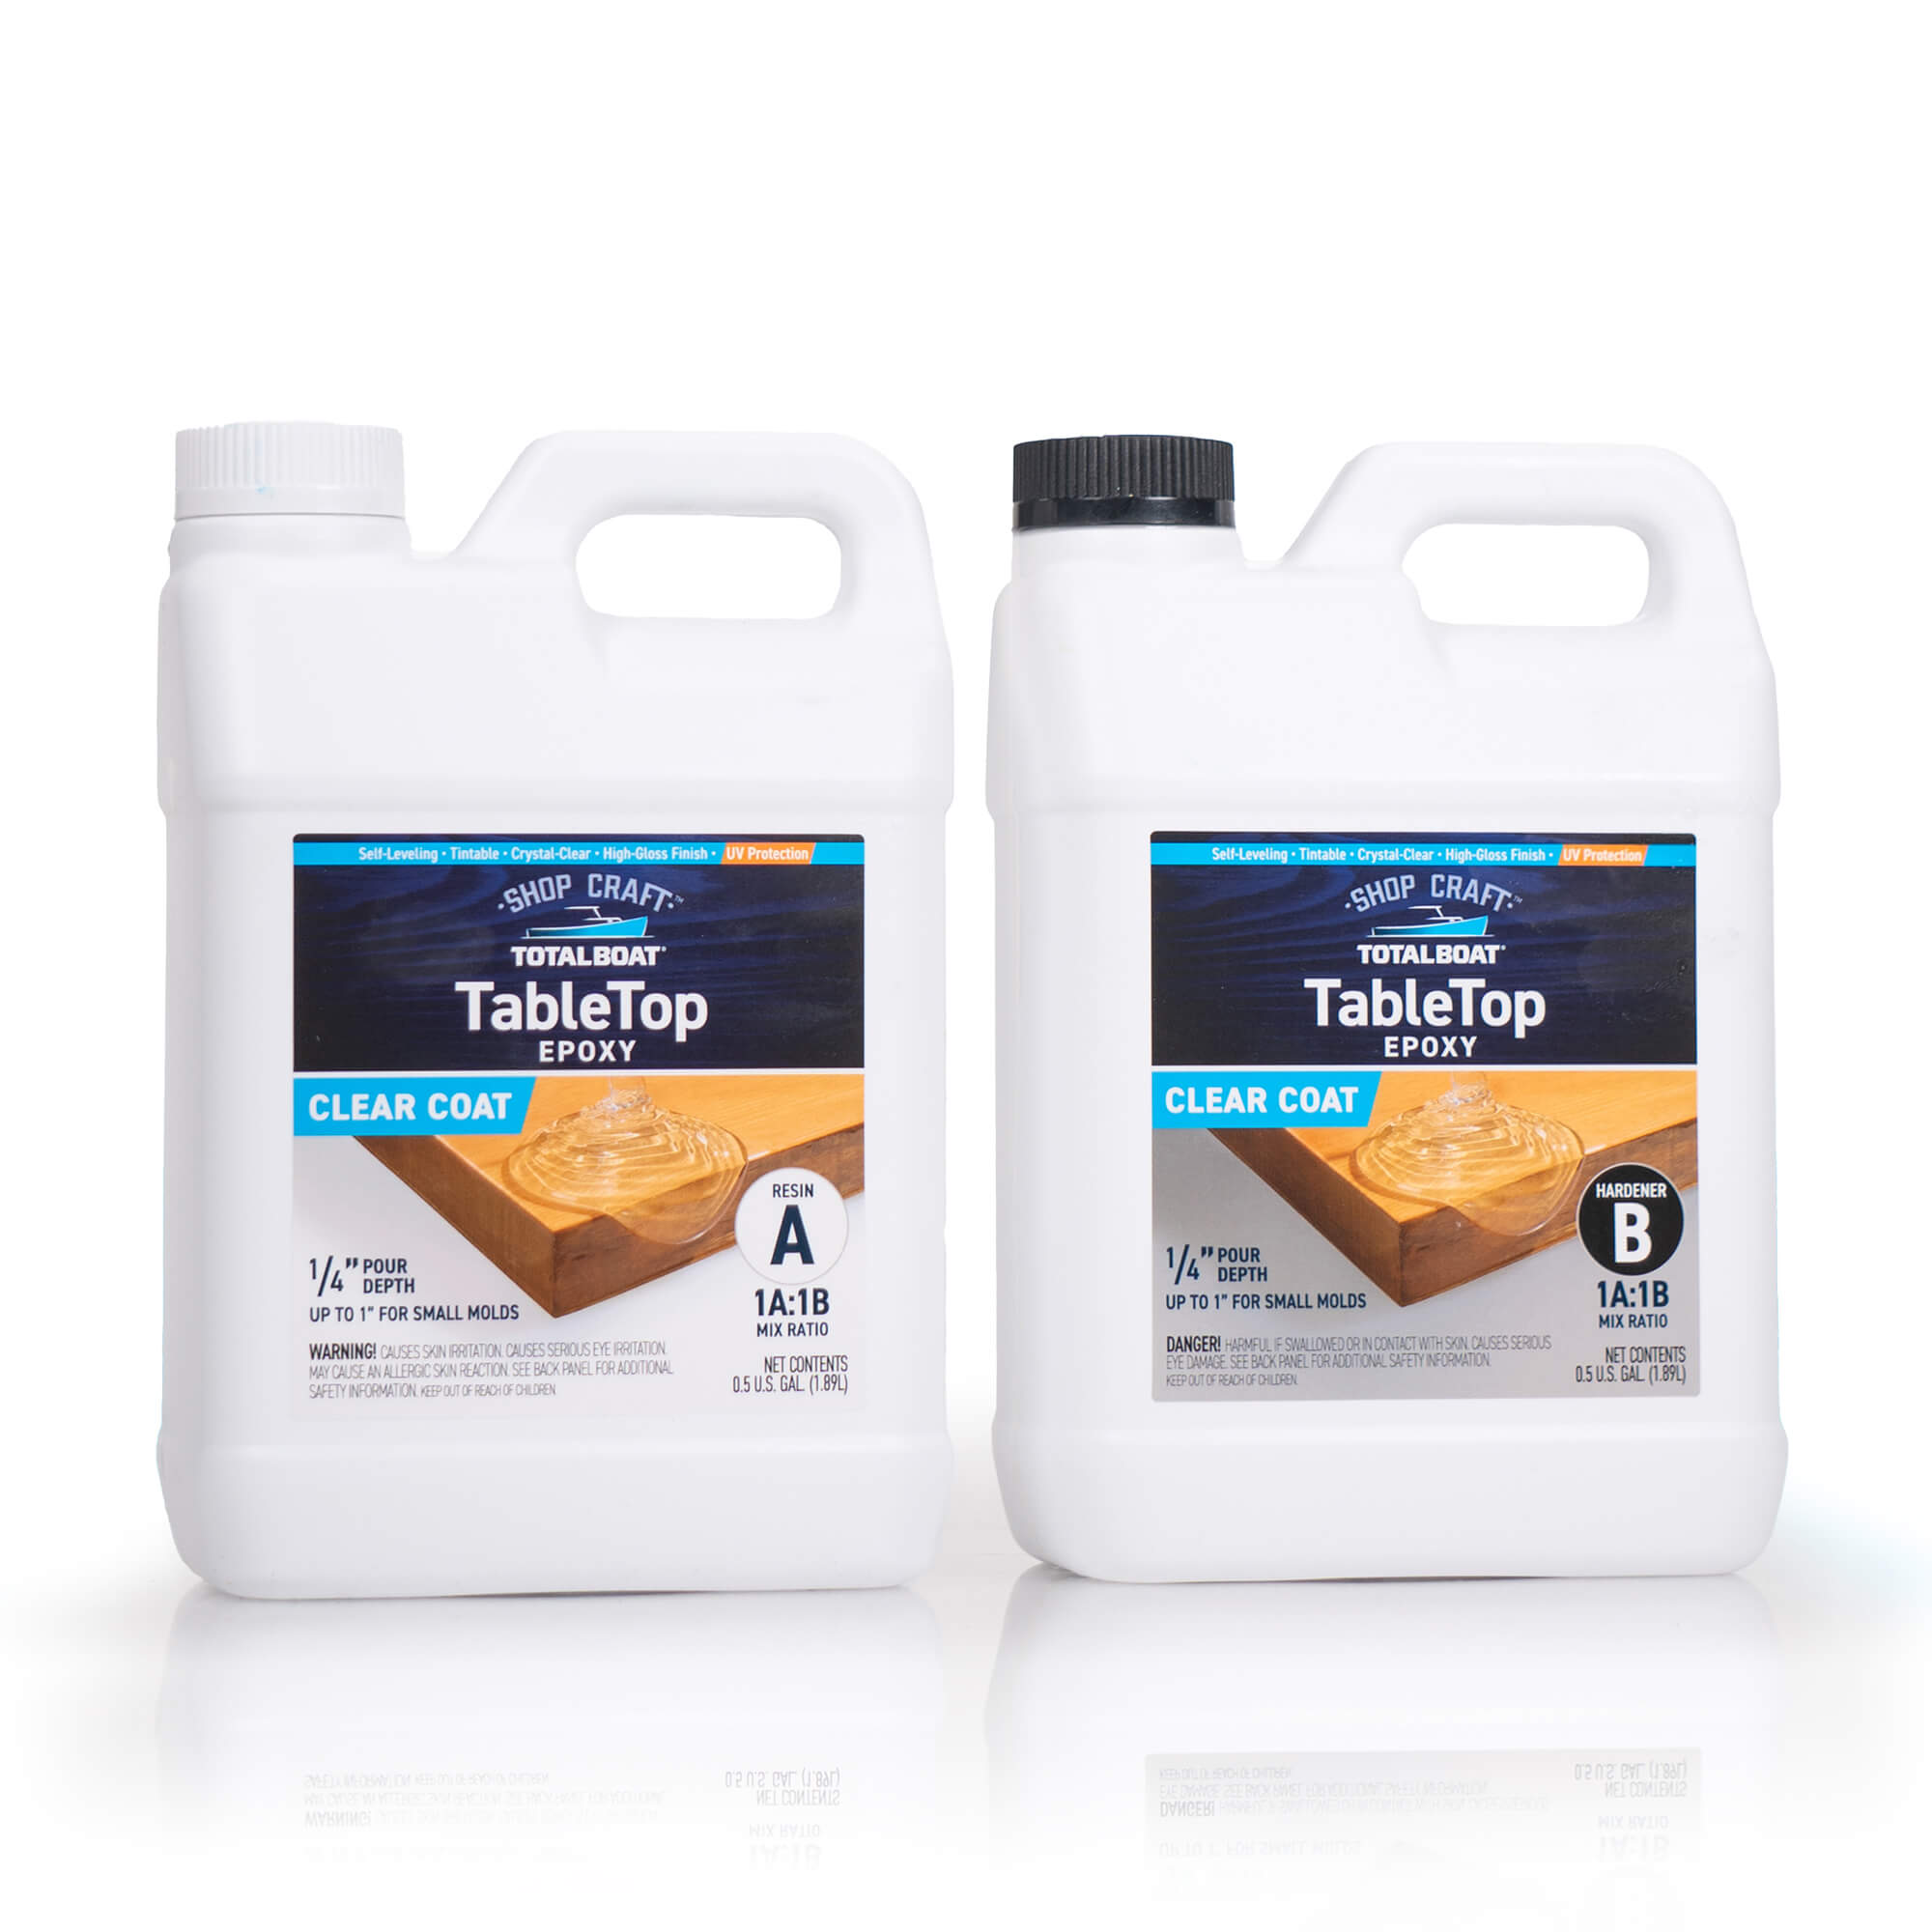
- Epoxy Resin: The most popular choice for clear pours. It cures slowly, allowing bubbles to escape. Epoxy offers excellent clarity and a hard, durable finish.
- Polyester Resin: Dries fast but can be tricky to work with. It often has a strong smell and may yellow over time. Not ideal for projects requiring long-lasting clarity.
- Polyurethane Resin: Flexible and impact-resistant. Some types provide good clarity but can be sensitive to moisture during curing.
Here is a quick comparison of common resin types:
| Resin Type | Clarity | Curing Time | Yellowing Risk | Best Use |
|---|---|---|---|---|
| Epoxy | High | 12-48 hours | Low | Art, jewelry, tabletops |
| Polyester | Medium | Minutes to hours | High | Fiberglass, molds |
| Polyurethane | Medium to High | Hours | Medium | Flexible items |
Choose epoxy resin for the clearest, most durable results. It offers the best balance of ease and quality.
Avoiding Common Resin Pitfalls
Clear resin pours can go wrong due to common mistakes. Avoid these pitfalls to keep your resin crystal clear and smooth.
- Incorrect Mixing Ratios: Resin and hardener must mix exactly as instructed. Too much or too little hardener causes cloudiness or sticky resin.
- Mixing Too Quickly: Stir gently to avoid air bubbles. Fast mixing traps bubbles that ruin clarity.
- Poor Temperature Control: Resin cures best between 70-75°F (21-24°C). Cold temperatures slow curing; heat speeds it up and may cause yellowing.
- Ignoring Humidity: High humidity can cause resin to become cloudy or develop a white haze.
- Using Old Resin: Resin past its shelf life may not cure properly or stay clear.
Keep these tips in mind for a flawless finish:
- Measure resin and hardener precisely using a digital scale.
- Mix slowly for 3-5 minutes, scraping the sides and bottom.
- Work in a dry, warm, and well-ventilated space.
- Store resin in a cool, dark place to extend shelf life.
- Use a heat gun or torch to remove surface bubbles gently.
Following these rules helps you avoid cloudy or dull resin pours. Clear resin looks stunning and professional when done right.
Mixing Resin Perfectly
Achieving crystal clear resin pours starts with mixing the resin perfectly. Mixing resin correctly ensures the resin cures well and stays clear without bubbles or cloudiness. Poor mixing leads to sticky spots, uneven curing, and dull finishes. The key lies in two main steps: measuring the resin and hardener accurately and stirring the mixture slowly and thoroughly. These steps help avoid common problems and create smooth, clear resin art or crafts.
Accurate Measuring Techniques
Measuring resin and hardener accurately is essential for clear resin pours. Resin products usually require a precise ratio of resin to hardener, often 1:1 or 2:1. Too much or too little hardener causes sticky or cloudy resin. Use a digital scale for the best results, rather than relying on volume measurements alone.
Follow these tips for accurate measuring:
- Use a clean, dry container for each component to avoid contamination.
- Weigh resin and hardener on a digital scale to get exact amounts.
- Measure at room temperature to reduce errors from expansion or contraction.
- Zero the scale before each measurement for precision.
- Double-check the product instructions for the correct mixing ratio.
| Mixing Ratio | Example Measurement |
|---|---|
| 1:1 by weight | 50 grams resin + 50 grams hardener |
| 2:1 by weight | 66 grams resin + 33 grams hardener |
Accurate measuring ensures the chemical reaction happens correctly. This leads to a smooth, clear finish without sticky or soft spots. Avoid guessing or eyeballing measurements to get the best results.
Slow And Steady Stirring
Stirring resin slowly and steadily helps mix resin and hardener thoroughly. Fast stirring creates bubbles that get trapped in the resin, causing cloudiness and defects. Slow stirring pushes air bubbles to the surface where they pop, leaving the resin clear.
Follow these steps for perfect stirring:
- Use a clean, flat stirring stick or silicone spatula.
- Stir gently in a smooth, circular motion.
- Mix for at least 3 to 5 minutes to combine fully.
- Scrape the sides and bottom of the container often.
- Avoid whipping or shaking the resin.
During stirring, keep these points in mind:
- Stir slowly to reduce air bubbles.
- Mix evenly to prevent curing issues.
- Use a wide container for easier stirring.
Slow, steady stirring ensures the resin cures clear and strong. Rushing this step leads to trapped bubbles and cloudy resin. Patience here improves the quality of your resin pours dramatically.
Preventing Bubbles
Preventing bubbles is essential for crystal clear resin pours. Bubbles can ruin the smooth, glass-like finish that resin projects need. They trap light, making the surface look cloudy or uneven. Avoiding bubbles takes care, the right tools, and patience. This section shares practical tips on stopping bubbles from forming in the first place and removing them if they appear.
Using Heat To Eliminate Air
Heat helps bubbles rise and pop quickly. Warm resin flows better and releases trapped air easier. You can use heat safely with these simple tools:
- Heat Gun: Keep it moving to avoid burning the resin. Pass it lightly over the surface to pop bubbles.
- Butane Torch: A small torch works well for spot heating. Use quick, gentle passes to break bubbles.
- Warm Water Bath: Before mixing, place resin bottles in warm water (not hot) to reduce viscosity and air bubbles.
Use a heat gun or torch about 10–15 cm away from resin. Too close can cause scorching or yellowing. Heat also helps air in the resin escape before it cures. Always work in a well-ventilated area for safety.
| Heat Tool | Distance from Resin | Effect |
|---|---|---|
| Heat Gun | 10-15 cm | Pops surface bubbles quickly without damage |
| Butane Torch | 15-20 cm | Spot heats bubbles; use short bursts |
| Warm Water Bath | N/A | Reduces resin thickness and trapped air |
Techniques For Bubble-free Pours
Pouring resin without bubbles starts with preparation and careful handling. Follow these easy steps for smooth pours:
- Mix Slowly: Stir resin and hardener gently for at least 3 minutes. Avoid whipping air into the mixture.
- Use a Toothpick or Pin: Pop bubbles that rise during pouring by gently dragging a toothpick over the surface.
- Pour in Thin Layers: Pour resin in layers to allow bubbles to escape between pours.
- Pour Resin Close to Surface: Hold the pouring container close to the project to reduce air exposure.
- Let Resin Sit: Allow mixed resin to rest for a few minutes before pouring. This lets bubbles rise and disappear.
Other tips to keep in mind:
- Work in a warm room (around 75°F or 24°C) to help resin flow.
- Use a silicone spatula for mixing to scrape sides well and avoid trapping air.
- Seal porous surfaces before pouring to prevent air release during curing.
Pouring With Precision
Pouring resin with precision is a key step to achieve crystal clear results. Careful control during pouring reduces bubbles and uneven surfaces. Each pour shapes the final look. Small mistakes can cause cloudiness or trapped air. Focus on steady hands and slow, mindful pouring. This helps resin settle smoothly and stay clear. Precision also means understanding how resin flows and reacts during the process. Patience and attention to detail pay off in the shine and depth of your resin art. The following tips guide precise pouring to improve clarity and overall finish.
Layering For Depth And Clarity
Layering resin is like building a clear window. Each thin layer adds depth and reduces the chance of bubbles or fog. Pour small amounts one after another instead of one thick pour. This method allows bubbles to escape and resin to cure evenly. Clear layers also make your piece look three-dimensional and bright.
- Start with a thin base layer. Pour about 1/8 inch (3 mm) thick and let it cure.
- Check for bubbles or dust. Remove any imperfections before the next layer.
- Repeat with thin layers. Each layer should fully harden before adding the next.
- Use a heat gun or torch. Lightly pass it over each layer to pop bubbles.
Layering also helps control the color and clarity. Adding pigments or inclusions between layers creates stunning effects without clouding the resin. Use this layering table to plan your pour:
| Layer Number | Pour Thickness | Dry Time | Notes |
|---|---|---|---|
| 1 | 3 mm | 12-24 hours | Base layer, remove bubbles |
| 2 | 3-5 mm | 24 hours | Add color or objects |
| 3 | 3-5 mm | 24 hours | Final clear layer |
Patience between layers is vital. Rushing causes cloudiness and weak spots. Take your time, and the layers will build a clear, deep finish.
Controlling Pour Speed
Pour speed affects resin clarity and smoothness. Pour too fast, and bubbles get trapped. Pour too slow, and resin may harden unevenly. Aim for a balanced, steady flow. Use both hands to stabilize the container and pour gently in one place.
Follow these tips for best pour speed:
- Pour slowly and steadily. Avoid splashing or dropping resin from high above.
- Use a narrow spout container. Controls flow better than wide openings.
- Pause occasionally. Let resin settle before continuing.
- Pour in a thin stream. This reduces air bubbles and helps even spread.
Pour speed also depends on resin temperature. Warmer resin flows easier but cures faster. Cooler resin pours thicker and slower. Keep resin at room temperature (around 70°F or 21°C) for balanced flow.
Here is a simple guide for pour speed based on resin viscosity:
| Resin Viscosity | Pour Speed | Result |
|---|---|---|
| Low (thin) | Moderate | Even coverage, fewer bubbles |
| Medium | Slow and steady | Good control, clear finish |
| High (thick) | Very slow | Prevents lumps, even layers |
Pouring with precision is about control and patience. Steady hands and mindful pouring keep resin clear and smooth. Adjust speed to resin type and temperature. This careful approach prevents bubbles and imperfections. It helps create clear, beautiful resin art.
Curing And Finishing
Achieving crystal clear resin pours requires careful attention during the curing and finishing stages. These steps ensure your project hardens properly and shines with a smooth, glass-like surface. Proper curing prevents cloudiness and sticky spots, while finishing techniques enhance clarity and gloss. Focus on these key areas to get flawless results every time.
Optimal Curing Conditions
Curing resin correctly is essential for clarity and durability. Resin needs the right temperature, humidity, and time to harden fully without defects.
- Temperature: Keep the curing area between 70°F and 75°F (21°C to 24°C). Cooler temperatures slow curing and may cause a cloudy finish.
- Humidity: Maintain humidity below 50%. High humidity causes a white, foggy surface called amine blush.
- Ventilation: A well-ventilated space helps fumes escape and reduces dust settling on the resin.
Use a simple table to track ideal curing conditions:
| Factor | Ideal Range | Effect if Not Met |
|---|---|---|
| Temperature | 70°F – 75°F (21°C – 24°C) | Slow curing or cloudy resin |
| Humidity | Below 50% | Amine blush (white haze) |
| Ventilation | Good airflow | Dust or bubbles on surface |
Allow resin to cure for the full recommended time on the package. Avoid moving or touching the project during curing. A stable environment reduces bubbles and imperfections.
Polishing For A Glass-like Finish
Once resin fully cures, polishing brings out its shine. A smooth, reflective surface makes resin projects look professional and clear.
Follow these polishing steps:
- Sand the surface: Start with medium grit sandpaper (around 400 grit) to remove uneven spots.
- Progress to finer grits: Use 800, 1500, then 2000 grit to smooth the surface gradually.
- Wet sanding: Always wet the sandpaper and resin surface to avoid scratches and heat buildup.
- Buff the resin: Use a soft cloth and polishing compound or resin polish to restore shine.
Use this polishing grit progression table for best results:
| Step | Grit Size | Purpose |
|---|---|---|
| 1 | 400 | Remove roughness and high spots |
| 2 | 800 | Smooth scratches from first sanding |
| 3 | 1500 | Refine surface for polishing |
| 4 | 2000 | Prepare for final polish |
Buffing with a microfiber cloth and a small amount of polish enhances clarity. Avoid harsh chemicals that may damage the resin. Repeat polishing if needed for a deeper shine.
Frequently Asked Questions
How Do I Avoid Bubbles In Resin Pours?
To avoid bubbles, mix resin slowly and thoroughly. Use a heat gun or torch to release trapped air. Pour resin in thin layers to minimize bubble formation. Work in a dust-free, warm environment for best results.
What Is The Best Resin For Clear Pours?
Choose a high-quality, crystal-clear epoxy resin designed for art projects. Look for UV resistance to prevent yellowing. Check for long working time and self-leveling properties for smooth finishes.
How Long Does Resin Take To Cure Fully?
Resin typically cures in 24 to 72 hours, depending on brand and conditions. Warmer temperatures speed curing, while cooler ones slow it. Always follow the manufacturer’s instructions for best results.
Can I Reuse Resin Molds For Multiple Pours?
Yes, silicone molds are reusable and flexible for many pours. Clean molds thoroughly after each use to prevent residue buildup. Proper care extends mold life and maintains resin clarity.
Conclusion
Clear resin pours need patience and careful steps. Mixing resin slowly helps avoid bubbles. Keep your workspace clean and dust-free. Use a heat gun or torch to remove bubbles. Let your resin cure in a stable place. Always measure ingredients exactly for best results.
Practice makes your pours clearer and smoother. Enjoy the process and learn from each pour. Soon, your resin projects will shine bright and clear.